Meet the Peg Doll Maker – Part I

Welcome to Part I of my Meet the Peg Doll Maker series, helping you to get to know us a little more. It’s based on the prompts provided by Joanne Hawker for the month long Instagram challenge March Meet The Maker. It is designed to help small business owners and creatives to tell the story behind their brand.

 Each day of the month has a different prompt, which participants can interpret freely. Over the series of posts I am sharing the images I chose for each daily prompt, along with the caption I wrote for each one on Instagram. Hopefully you will learn a little more about myself, the peg doll families and cake toppers that I lovingly create, and about what goes on behind the scenes in our studio!

Day 1: you

peg doll artist Natalie Thomas

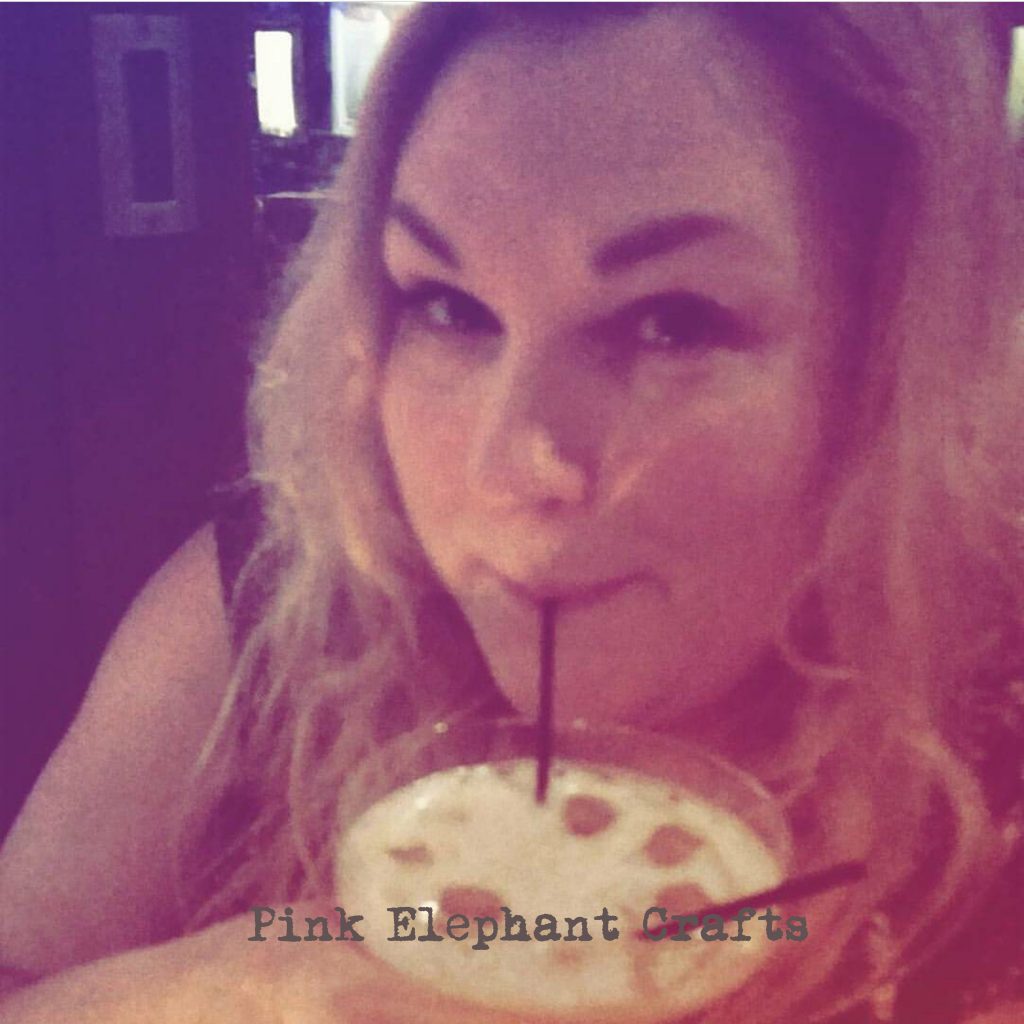
This is me, Natalie. I’m not usually fortunate enough to be sipping on cocktails! However this was my 35th birthday in the Lake District over the weekend. I’m not at all ready to be a grown up yet though! I live on the side of a mountain in the Welsh Valleys with my lovely hubby. His presence keeps me (an introverted, tea-drinking creative gal who wants a quiet, uncomplicated life; likes staying in and her own company) just about on the right side of the “Crazy Cat Lady” line.  We have 3 cats; Dexter, Cookie and our kitten Pearl, who really are the apples of my eye. Pearl is completely deaf and I am teaching her sign language, thus validating the almost crazy cat lady status 😹. Really looking forward to finding out more about my favourite makers and meeting lots of new inspirational and talented lovelies too.

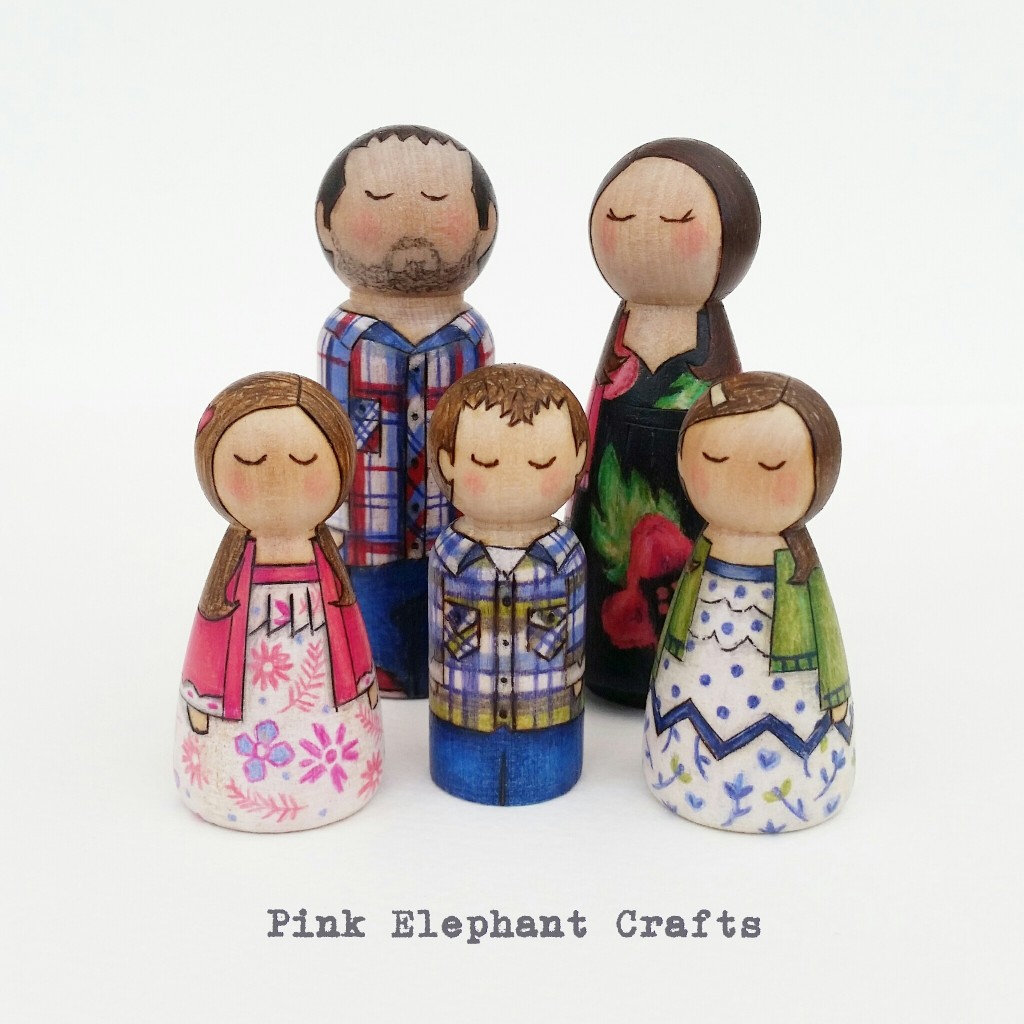
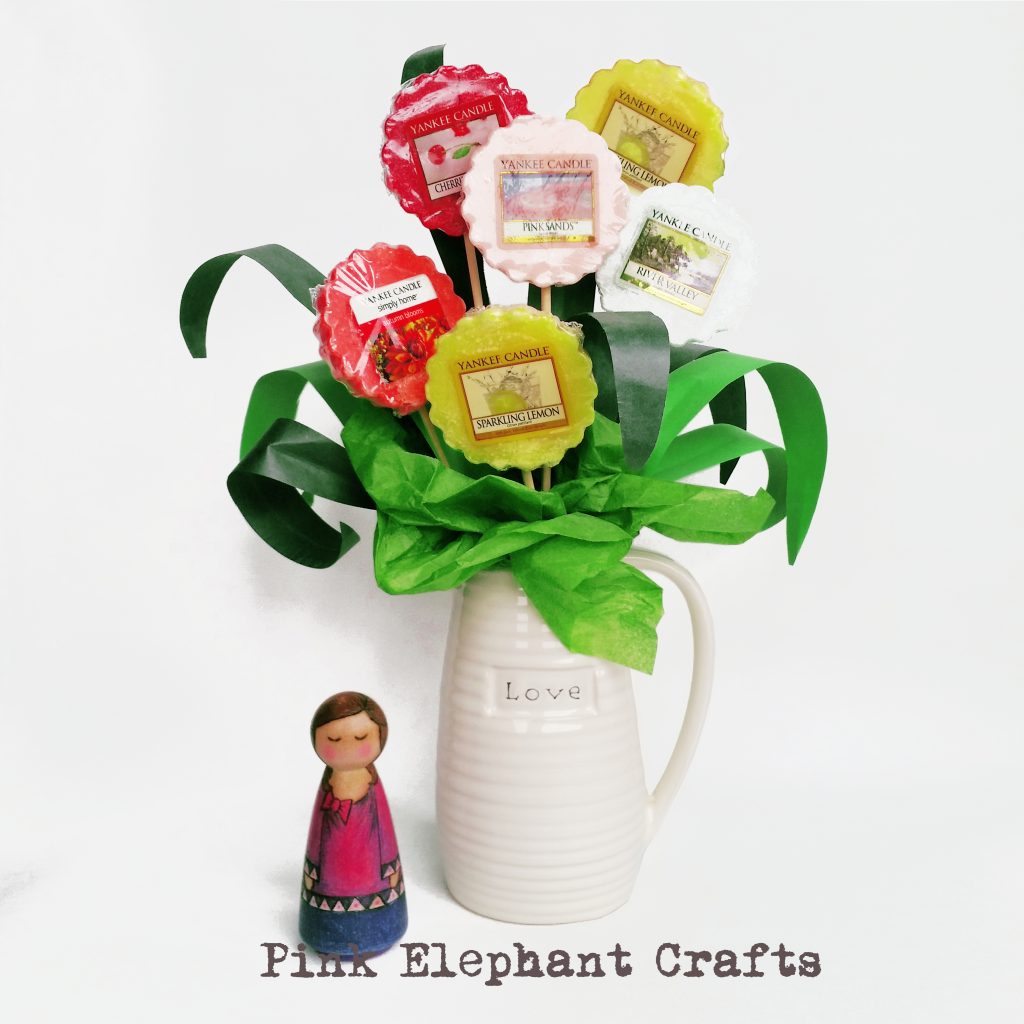
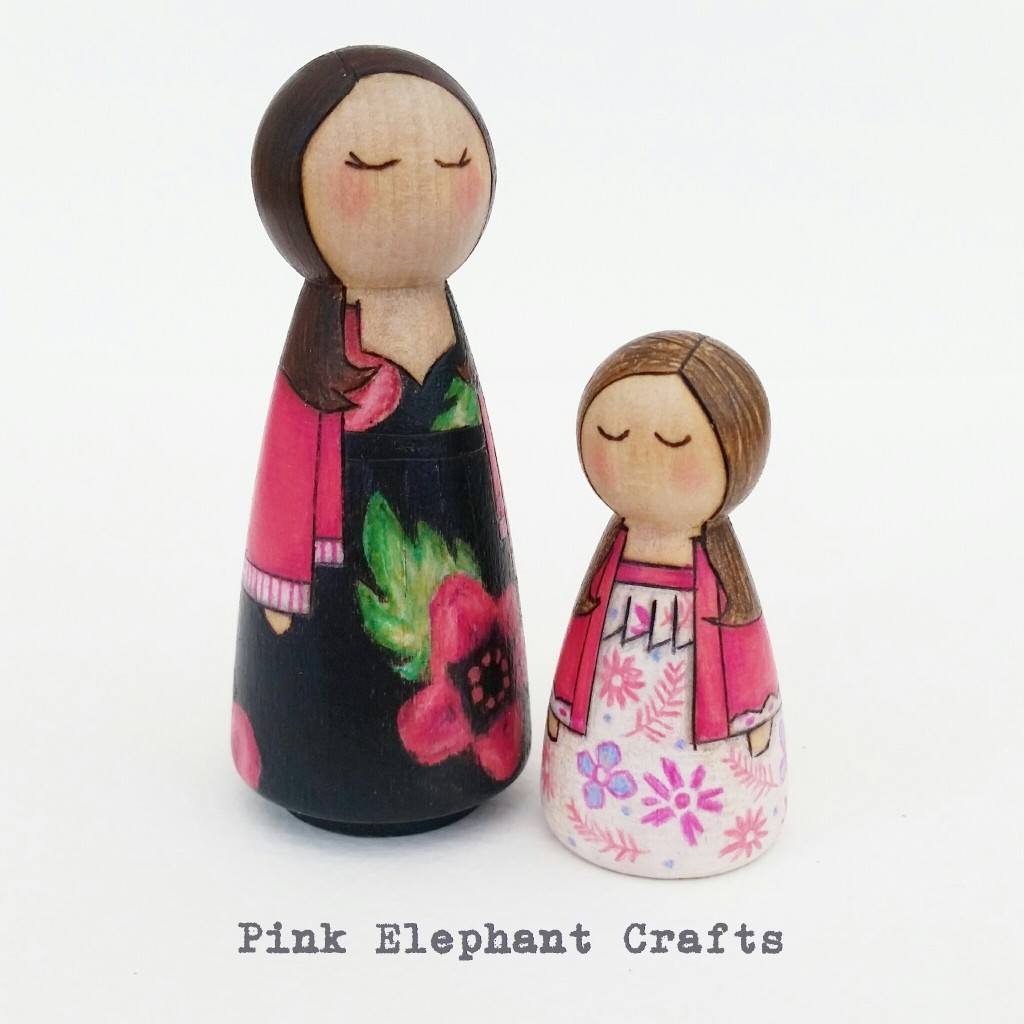
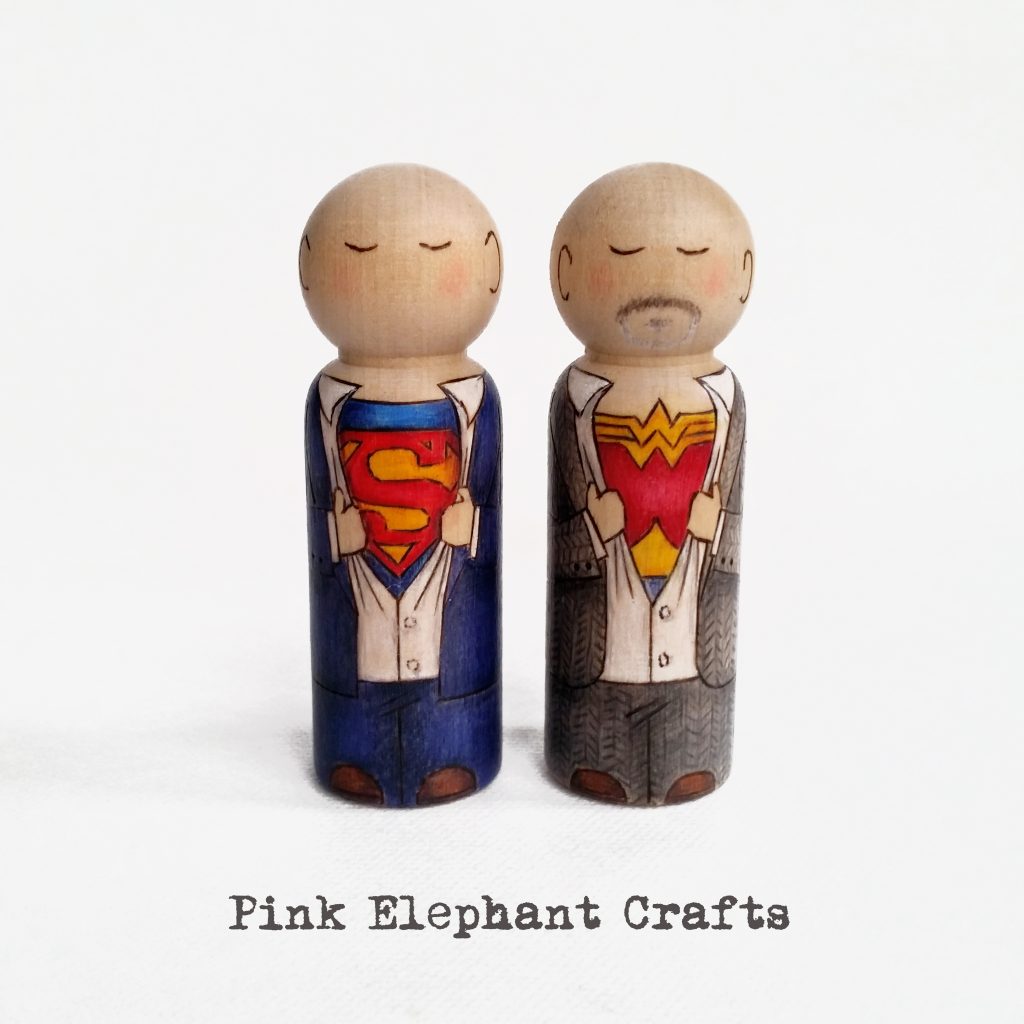
DAY 2: Favourite to make

Peg doll family of five

I’ve really had to think long and hard about this. I really love EVERY set I’m commissioned to make. So much love, time, and effort goes into each doll I make that I become attached to each one. I almost posted some Wedding Cake toppers as it’s always such a huge honour to be asked to make something which is such a focal point of someone’s special day. It’s also an extremely nervous process – particularly between sending them from my little studio to their new recipient! Will the dolls be what the customer envisaged and hoped for? Have I got the details just right? So it’s very stressful but so rewarding when I get lovely email feedback!

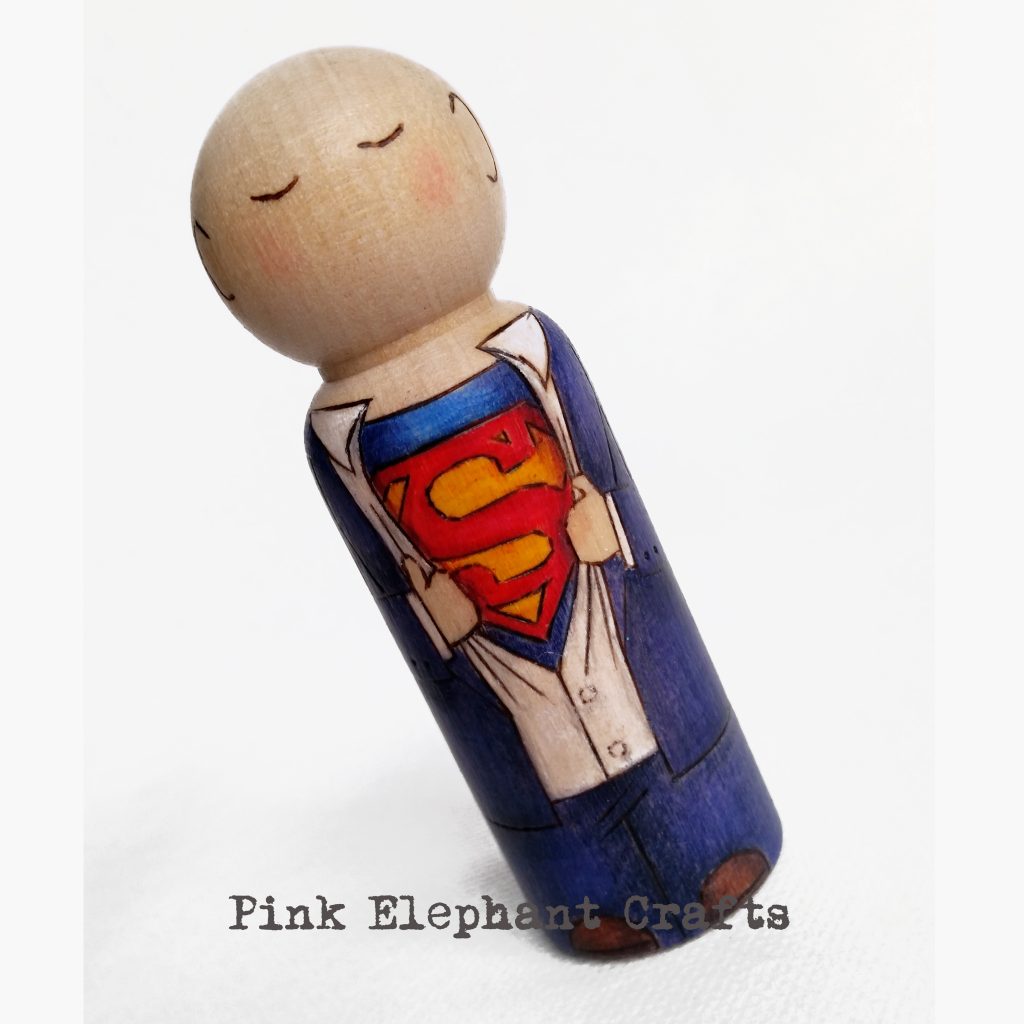
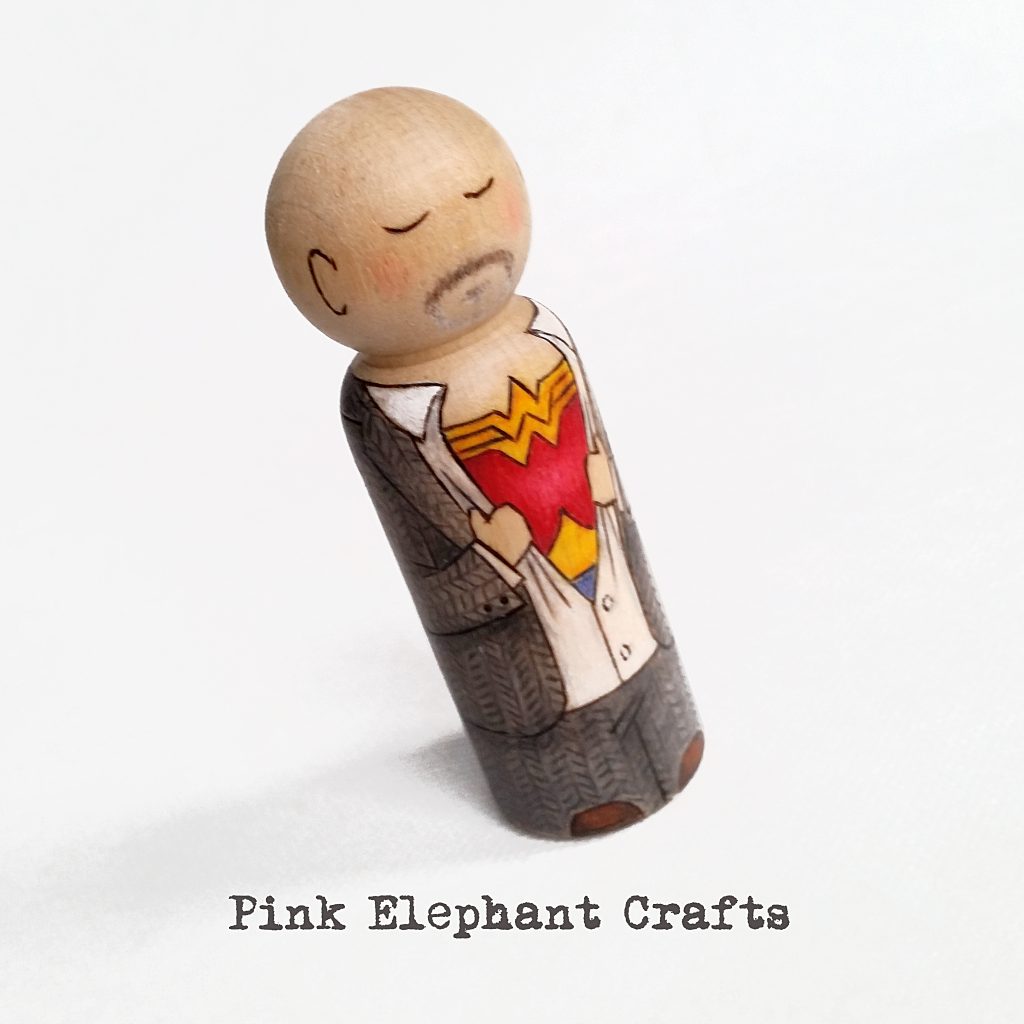
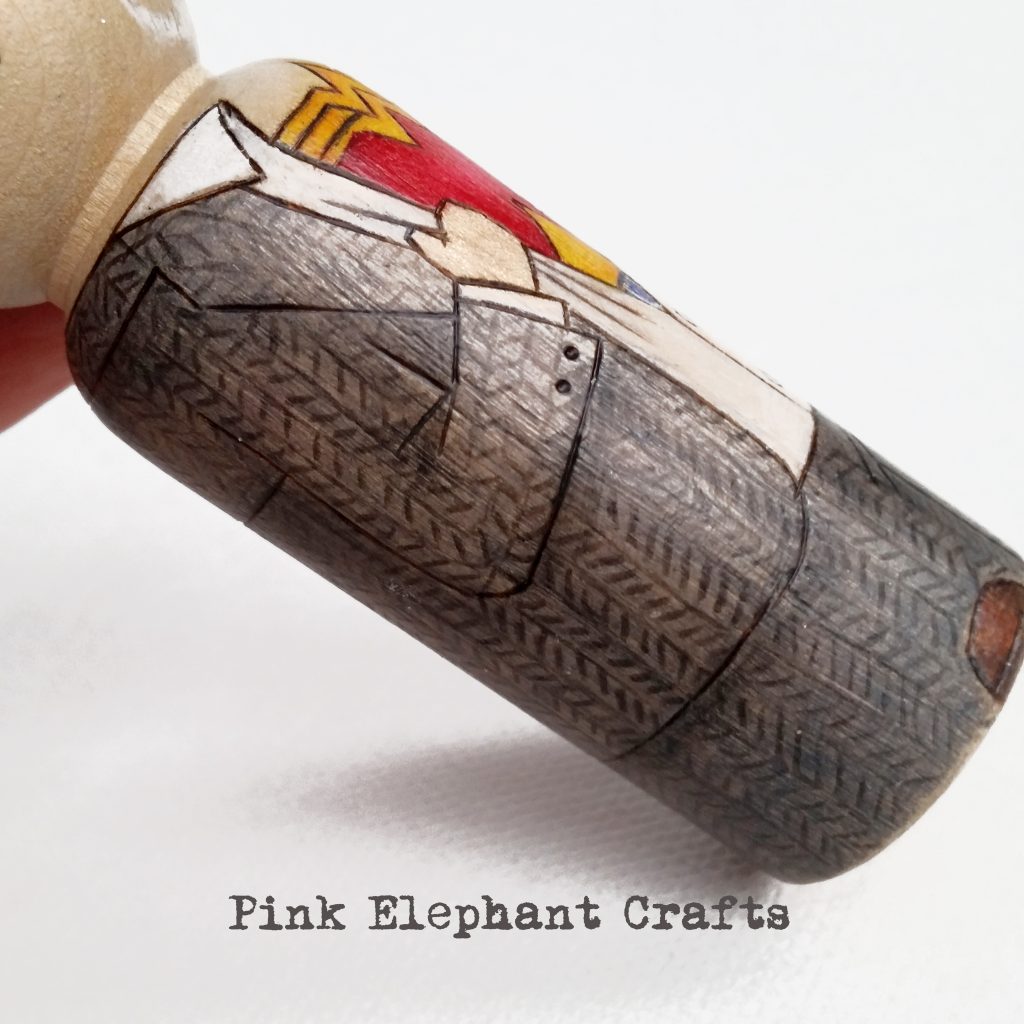
However, after a bit of reflection, I realised that my favourite sets to make are in fact the ones that involve lots of colour and pattern. It’s such a satisfying and therapeutic process to translate them to my little wooden dolls. So I picked this picture as an example of my favourite sort of work to undertake- bright, colourful and patterned! 😍💕 Does colour or pattern play a big part in your work?

Day 3: Workspace

peg doll artists studio, wales, uk

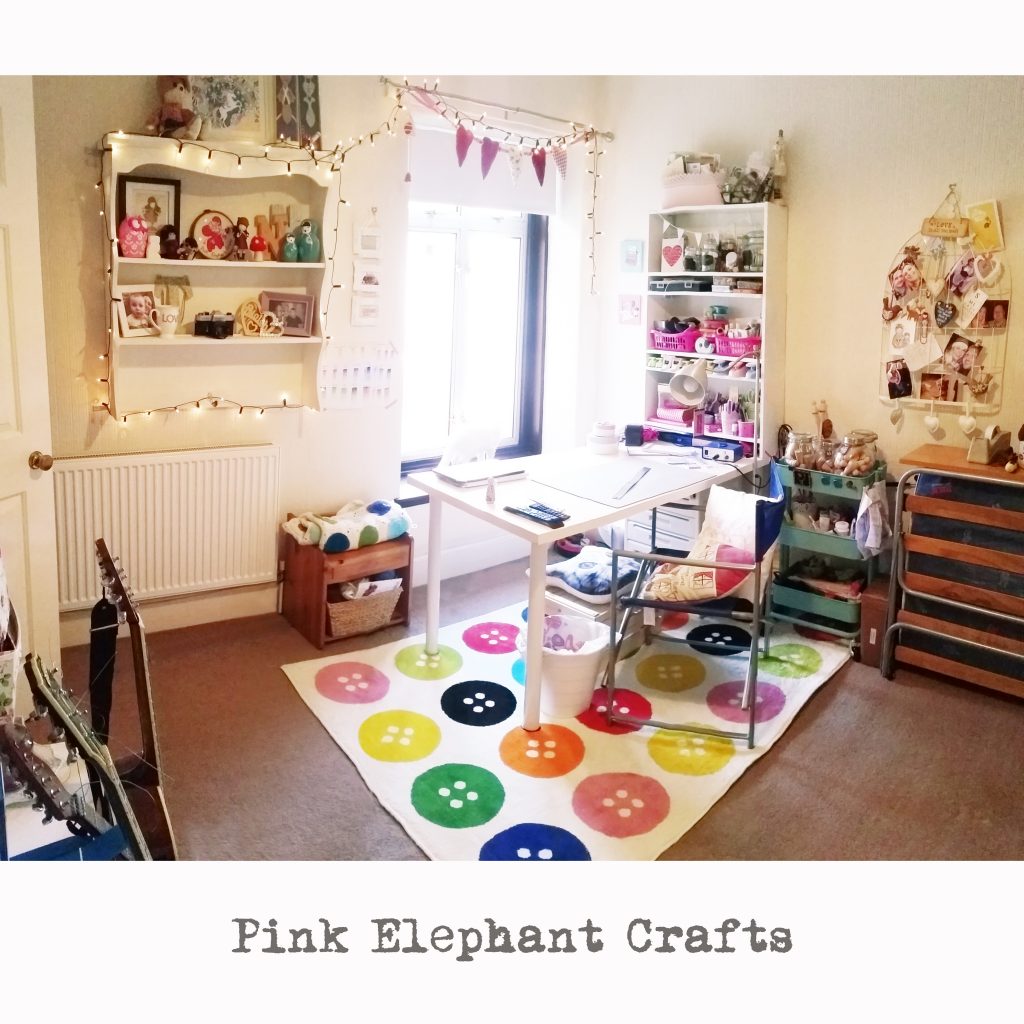
Here’s my little studio. We haven’t lived here long so we haven’t decorated in here (brown carpet anyone?) but I love my room anyway. My desk is under the window so gets lots of natural light. The deep windowsill is perfect for our 3 moggies to curl up on while I’m working. It looks over our little terraced garden and up to the pine trees on the mountain we live on. I love watching them sway hypnotically in the wind. Of course this is rather fortunate because we get a lot of wet and windy weather in the Welsh valleys!

The room is home to all my special little trinkets and treasures from my dearest family and friends, and favourite makers, so it’s an ecclectic but inspirational environment for me. It’s also got a bank of built-in storage which is crammed with my years of arts and crafts materials. It’s the main reason I bagged this room as my studio when we bought the house! If I’m feeling brave enough to reveal my scratchy little Welsh accent, I might show you around on Stories later! 🙈 Do you have anything special to you in your studio? Looking forward to seeing everyone elses creative spaces today
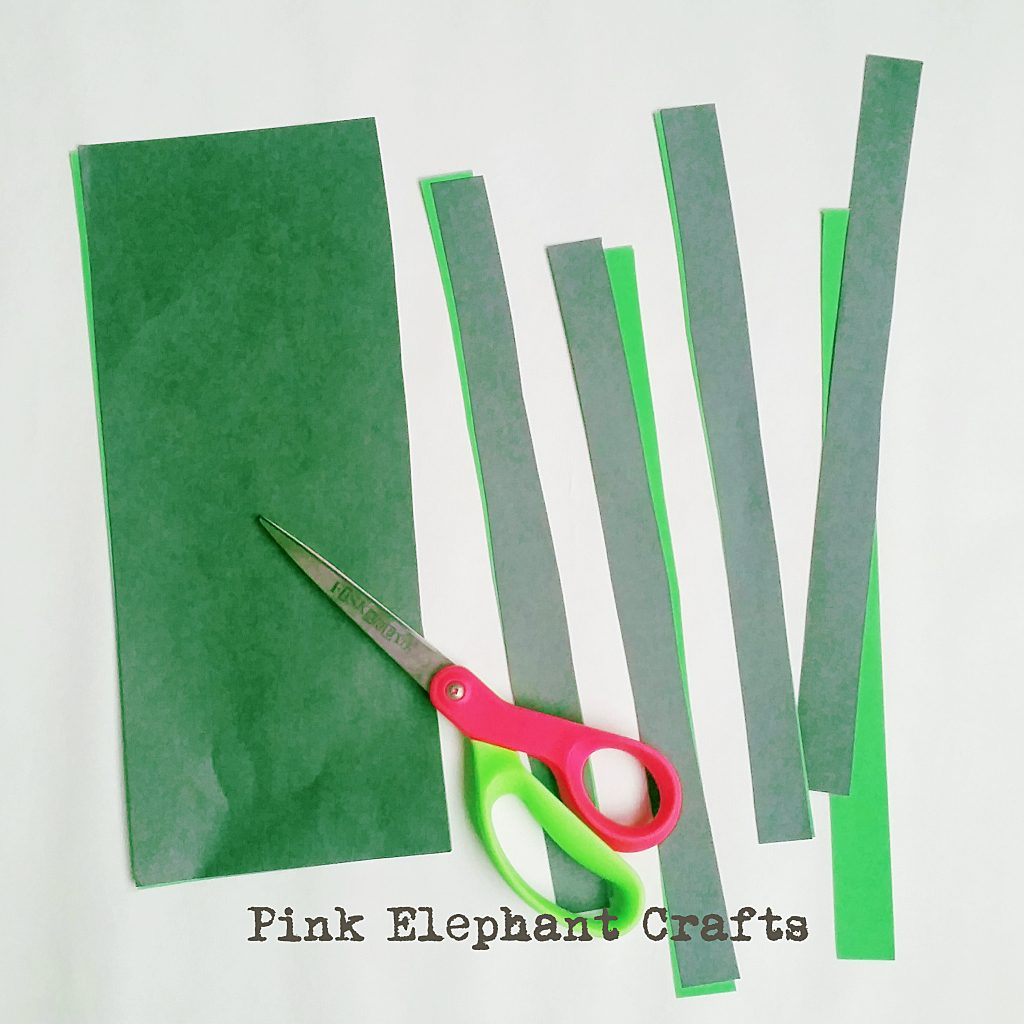
Day 4: Tools

peg doll artists tools

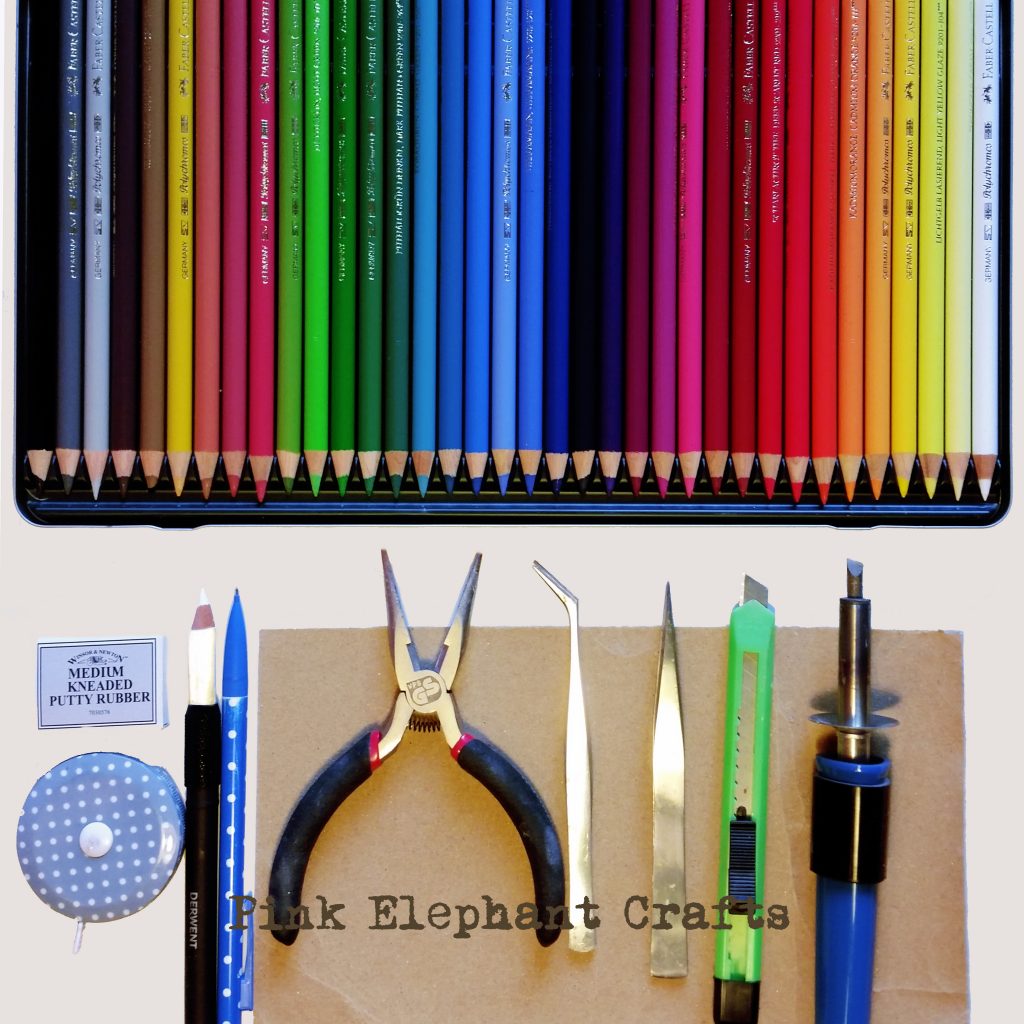
Here are my essential tools for making my peg doll families and wedding cake toppers. I usually work in my studio. Of course this is a necessity when I’m burning the dolls. Sometimes though, in the evenings, I like to pop my pencils and drawling tools in to a basket and work curled on the sofa up next to Mr T. There’s usually a cat or two on my lap too!

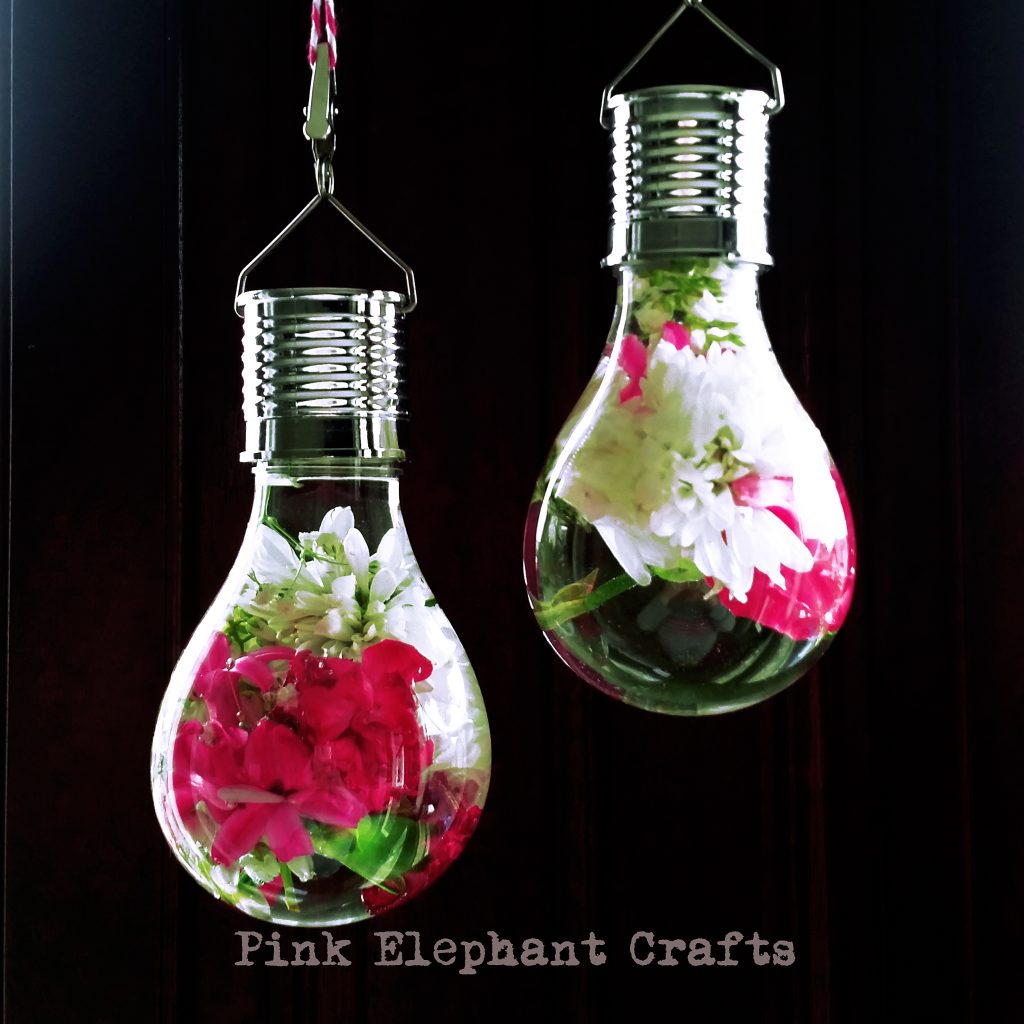
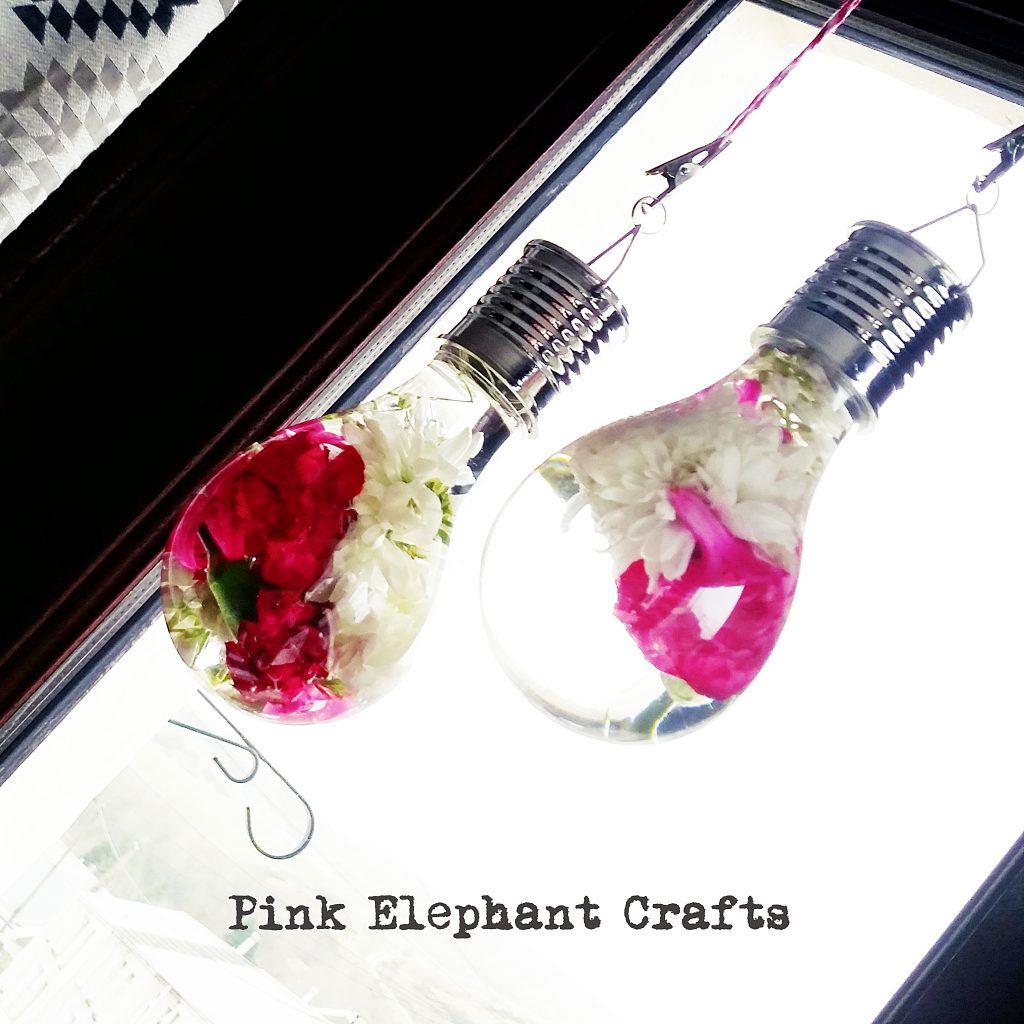
Day 6: Raw Materials

peg doll families and couples

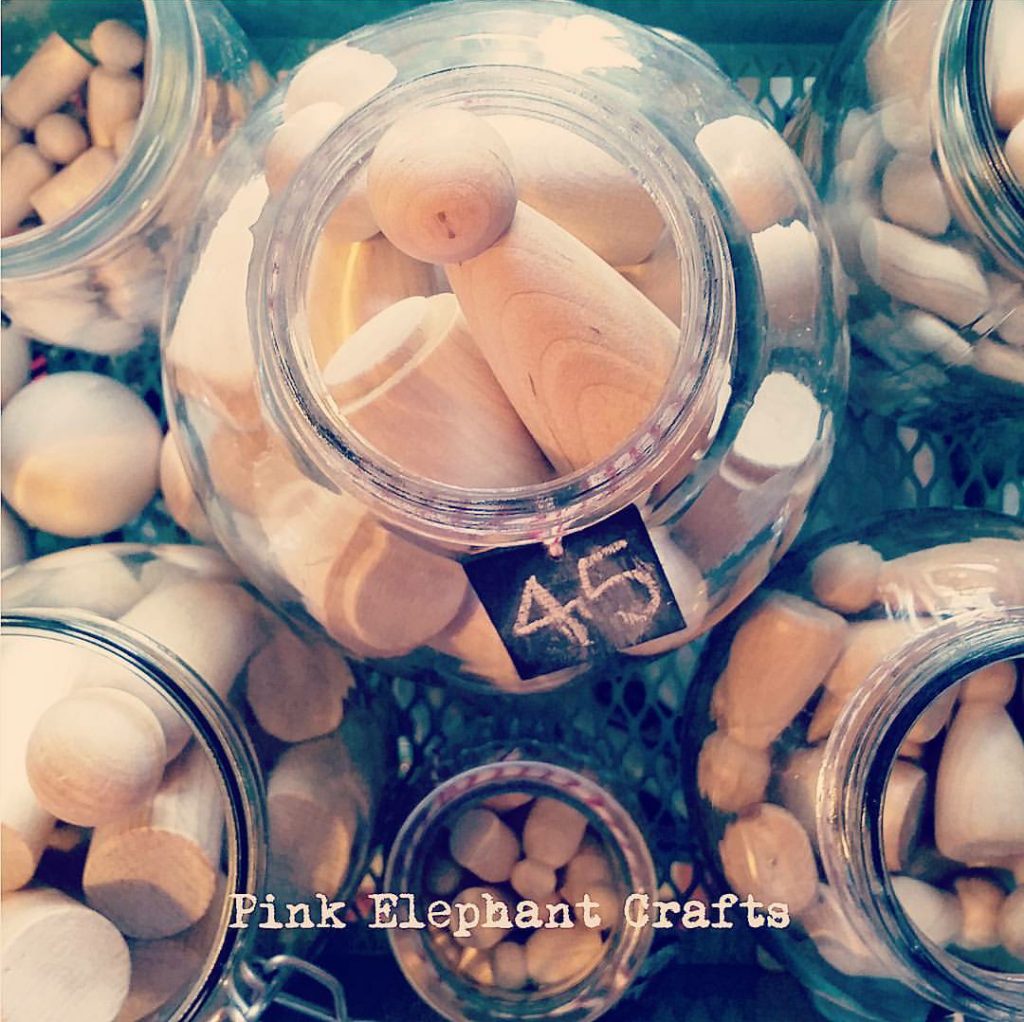
Here are my little wooden peg dolls before I work my pyrography and pencil magic on them. I keep an easy to grab “working stock” handy in pretty glass jars on my pretty turquoise Raskog trolly next to my desk. The rest of my raw stock is in a big box. I keep track of how many I’ve got with little chalk labels on each jar – high tec baby! 😂 💕 Do you have any clever ways to keep track of your raw materials?

 Stay tuned for Part II of my Meet the Peg Doll Maker Series for the next 6 snippets into our little business.

Cwtch ♥ Mawr

peg doll family

Wax Melt Bouquet – DIY Mothers Day Gift

This is your four-day warning for Mother’s Day! T-minus Four days!

But don’t panic! I promised that I’d be back with another quick and easy take on a Pinterest find. This one’s lovely too; a tutorial for a wax melt bouquet. It’s a really quick and easy DIY Mothers Day Gift.  Here’s the pin I found:

And here’s my take on it which I will help you make in this tutorial. Who doesn’t like a nice scented wax tart? They will be appreciated even more when presented in this lovely wax melt bouquet!

peg doll with diy yankee candle bouquet tutorial

It took me around 10 minutes.

DIY Mothers Day Gift wax melt bouquet

First up, you’ll need some scented wax melts . There are loads of different brands around now and they are easily available. I can get Yankee Candle tarts at my local Supermarket for less than a £1 each.  They have their own brand for half that price too. You’ll also need some tissue paper and some green craft or copier paper to create the leaves, and some kebab skewers.  Have a scissors handy, and I also used a snips to cut the skewers. In fact, a good scissors will probably cut through them if you don;t have one though.

Finally, choose a nice vessel to arrange your wax melt bouquet in. I chose this little jug, but you really could use anything. Perhaps a mug or a biscuit tin if your Mum is a fan of tea and biscuits, or a vase for her to display a real bouquet in.  A flower pot, like in the original pin looks nice and is easy to find. Alternatively, if you haven’t got time to shop around, you could use a pretty glass jar with some ribbon or lace tied around it. How about using an old (but empty and clean) Yankee candle jar?

TIP: My little jug had a narrow opening, so it held the wax melt flowers where I arranged them with no problem. If you are using something with a wide opening, you might want to use a bit of florist foam or polystyrene inside to push the flowers into so that your wax melt bouquet arrangement stays as you intend it to.

OK! You’ve got all your bits. We’re ready to go!

quick and easy mothers day craft

Start by stuffing your “vase” with tissue paper. If you needed foam, pop it in the bottom first before doing this. However, if your vase is see-through, put the foam INSIDE the tissue so it’s not seen, then put it in the jar.

DIY Mothers Day Gift wax melt bouquet

Now make your leaves. You can skip this step, but it does add a little something to the arrangement. I used 2 different coloured green papers, because I happened to have two here. Nevertheless it’s not essential. I just popped the two sheets right on top of each other to save time, and sliced them length ways into long, leafy strips.

diy mothers day gift with yankee candles

I gathered them all in a pile and rounded all the edges all at once. Just go for it! Nature isn’t perfect, so why should we be?!

Diy mothers day gift with yankee candles

Next I folded them in half and made a firm crease along the folded edge to create a leafy “spine”.  Again I did this with them all at once in a pile. I then curled the tips along a scissor blade, like you do with curling ribbon. This gave them a more natural look.

DIY Mothers Day Gift yankee candle bouquet

Don’t laugh but this is the bit that took me the longest! Artistically stuffing my “leaves” into the tissue paper was the fiddliest part of the whole craft process. I popped most around the edge of the jug, between its’ side and the tissue paper, as this was the easiest way. However, I also wanted some in the middle of the bouquet to give it a more authentic look. So I grabbed one of the skewers to help me poke them down into the jug between the layers of tissue.  Drama over!

DIY Mothers Day Gift yankee wax melt bouquet

Push the pointy end of a skewer into each of the scented wax melts. Add them into your bouquet (pushing into the foam if you needed some). You can snip the ends of the skewers to alter the lengths of your “flowers” to suit your arrangement, just like you would with a real bouquet.

Quick and easy tutorial for DIY Mothers Day wax melt bouquet

And you’re done! Stop the clock!

You could go a bit further by painting the sticks green, adding ribbon/bows etc. But I think it looks good as it is. Your Mum will never guess that this lovely hand made gift took you just 10 minutes to make. And of course, it has the added advantage that these blooms won’t fade. Their smell will last a lot longer too!

DIY wax melt bouquet tutorial

I hope you enjoyed my tutorial for your DIY Wax Melt Bouquet and that it was quick and easy to follow! Feel free to share it or pin it to your Pinterest boards so that others can make one too!

Also, don’t forget my guide to making super snappy DIY Hanging Light Bulb Vases in my last post, or my FREE MOTHERS DAY PRINTABLE here!

It’s not too late to have a happy, handmade Mother’s Day, even with just a few days to go.

Not to mention if you’re still short of ideas, you are welcome to pop on over to my Mother’s Day Pinterest board for more inspiration:

Cwtch ♥ Mawr

custom peg dolls uk

DIY Mothers Day Gift – Beautiful & Easy Hanging Light Bulb Vase

There is just ONE WEEK until Mother’s Day here in the UK! So I’m here with a handy DIY Mothers Day gift idea that you can make to show your Mum how much you care on March 26th.

Pinterest is of course a huge wealth of inspiration for all sorts of things. Just last week a beautiful pin caught my eye for it’s sheer prettiness. Wouldn’t it make a lovely DIY Mothers Day gift I thought?

The next day I was passing time whilst our kitten was in the vets with a spot of shopping nearby. By chance, I spotted vintage garden lights in Home Bargains and I immediately remembered the pin from the night before!

At just 99p each, it was worth giving a couple a go TO recreate the pretty vases as a heartfelt DIY Mothers Day Gift.

DIY mothers day gift light bulb vase

And I think it turned out beautifully!

DIY light bulb hanging vase

Do you want to know how I did it?

It was easy peasy. Seriously. And super fast. In fact, I over complicated it, so you can learn from me and avoid my mistakes!

First , I unscrewed the silver cylindrical “lid” part from the plastic “bulb”, and set about removing the solar light gubbins. My thought was to remove the lights, wiring and battery hidden by a screwed-in little cover, and then screw the cover back into the cylindrical lid. Now, just what amazing feat of quality and engineering I was expecting for 99p I’m not sure. But when I went to screw the plastic cover back, the flimsy plastic parts that received the screws snapped off. Bummer.

So this is where you can learn from me and save yourself a couple of minutes. Go ahead and unscrew the cylindrical “lid” off the bulb. Then instead of removing the screws on the inside, see in the picture where the lightstring goes through the hole? Just snip the wire right there as close as you can to the hole. Yes the battery is still inside, but I don’t think there’s a huge risk of electrocution from the little solar battery so I *think* you’ll be ok.

Disclaimer – you carry this out at your own risk! I am not an electrician and if you are overly concerned you could always seal over the hole with a big blob of silicone glue. This should keep any moisture out once you fill your finished vase with water. Just allow it the stated time to properly cure as per the manufacturers instructions.

Next gather your beautiful blooms! Isn’t this fun?!

I pinched some carnations and chrysanthemums from my almost-finished bunch of Valentines bouquet. I also picked some pretty pink hyacinth heads fresh from the garden.

mothers day DIY gift light bulb vase

Pop them into your bulbs; I learnt that more is more. The water obviously causes the petals and flower heads to float, so the more you put in, the less room they have to float up to the top.

DIY light bulb vase for Mothers day gift

Final step is to gently add water, screw on the cylindrical lid, hang somewhere pretty, then sit back and admire your handy work. If you’re not happy with the arrangement after adding the water, the solution is simple. Pop a pencil into the bulb and gently nudge the flowers to where you want them.

DIY light bulb hanging vase

The whole thing took me about 10 minutes. That included picking the garden flowers, searching for a screwdriver (which you’ve learnt you won’t need) and the breakage fiasco.

DIY light bulb hanging vase for mothers day

I found on day 3 the blooms were still bright, but the water had gone a little cloudy. I gently tipped it out and filled it back up again.

DIY light bulb hanging vase for mothers day

By day 5, the flowers from my almost spent bouquet had had it really, but the fresh garden flowers were fine. I wasn’t sure how flower heads would last immersed in water, but they’ve done ok. It’s certainly given an extra couple of days to the remaining blooms from an old bouquet which would have ended up in the bin otherwise.

These beautiful light bulbs are a gorgeous and unusual way to display pretty blooms. Wouldn’t it make a lovely Mother’s Day gift to have a child fill one with flower heads that they picked themselves from your own garden?

It’s a really quick, easy and lovely DIY Mothers Day Gift idea that will mean so much and look so lovely.

Why not accompany your DIY light bulb vases with my pretty free Mother’s Day printable from my last post? Print it off and pop it into a pretty frame to make the perfect partner to the vases.

I’ll be back in a couple of days with another quick and easy gift idea for Mother’s Day. But if you’re suffering from Peg Doll withdrawal, here’s a pretty Mother and Daughter gift set I made last year.

peg dolls mothers day gift

Cwtch ♥ Mawr

custom peg dolls uk


Free Mother’s Day Printable

I feel a bit disappointed with myself.  I have been so busy with everyday commissions that I’ve been unable to open up slots for Mother’s Day this year.

So in a bid to make it up to you, I’ve got a little present for you.

I’ve made a free Mother’s Day Printable for you with a photo that I took of my button collection. You can simply print it off and frame it as a super quick and easy mothers day gift.

free mothers day printable for framing or cards

The PDF is A4 with the 6″x 4″ image in the middle.  This gives you two choices. You can trim it down and pop it in a 6×4 frame.  Or you might chose to leave it exactly as it is and place it in an A4 frame to give the effect of a white mount around it. I designed it in this size to make it super convenient for you because both size frames are readily available everywhere

Alternatively, you could pop the print on to the front of a card blank to make a quick and easy mother’s day card. Why not stick a button in between the arrows at the bottom to give it a special, hand-finished feel?

You can get the free Mother’s Day Printable pdf by clicking here.

But that’s not all. Because I don’t tend to do things by halves.

I’ve also whipped up two super quick but AMAZING mothers day gifts that I discovered on Pinterest, but have broken down step by step for you to follow quickly and easily. There’s just over a week until Mother’s Day, but these ideas are so quick and easy that they’re perfect if you’re a Last Minute Molly! I am excited to share them with you over the next couple of days, so stay tuned!

Cwtch ♥ Mawr

custom peg dolls uk

Superhero Peg Dolls

On this day in 1936, the world was introduced to its first tights-wearing, skin-tight costume-clad superhero. No, not Superman. Not Batman. Or Spiderman.

The purple-clothed Phantom was from the imagination of comic strip creator Lee Falk and the first character of this kind to wear a costume to mask his true identity. Falk’s pioneering character set the dress code for the leagues of lycra-loving heroes and masked mystery men that have followed and entertained us ever since.

My husband is a massive superhero fan, and as I’m sure you know by now, I’m a tad partial to creating peg dolls. So I LOVE it when our two interests collide and we get to create superhero peg dolls!

As you can imagine, I was thrilled to be asked to make a couple of peg dolls that revealed the recipients’ inner superheroes as a special birthday gift! What an amazing project to be able to undertake!

Superman and Wonder Woman costumes were the order of the day, hidden under their suits.
superhero peg dolls fathers day gifts

“Superman” as his sister lovingly referred to him, had to of course be wearing a sharp navy suit.

superhero peg doll gift for men

Meanwhile, the other peg doll was wearing a stylish grey herringbone suit.

superhero peg doll gift for groom

Needless to say, I really enjoyed creating the texture on the jacket and trousers.

superhero peg doll in suit

Of course, no superhero is complete without a trusty sidekick. So to complete the set I created Dexter, their adorable little dog.

superhero peg dolls set

These would also make the perfect Father’s Day present for your Super Dad! Father’s day this year in the UK is on June 18th. Plenty of time to place an order!

Incidentally, these are not the first superhero peg dolls portraits that I’ve been asked to make. Have a look through my gallery for more! 

There is certainly a bit of superhero in us all!  Contact me if you want to immortalise your inner hero or alter ego as a superhero peg doll!

Cwtch ♥ Mawr

peg doll, peg dolls, uk, wedding cake toppers, handmade gifts