
This is your four-day warning for Mother’s Day! T-minus Four days!
But don’t panic! I promised that I’d be back with another quick and easy take on a Pinterest find. This one’s lovely too; a tutorial for a wax melt bouquet. It’s a really quick and easy DIY Mothers Day Gift. Here’s the pin I found:
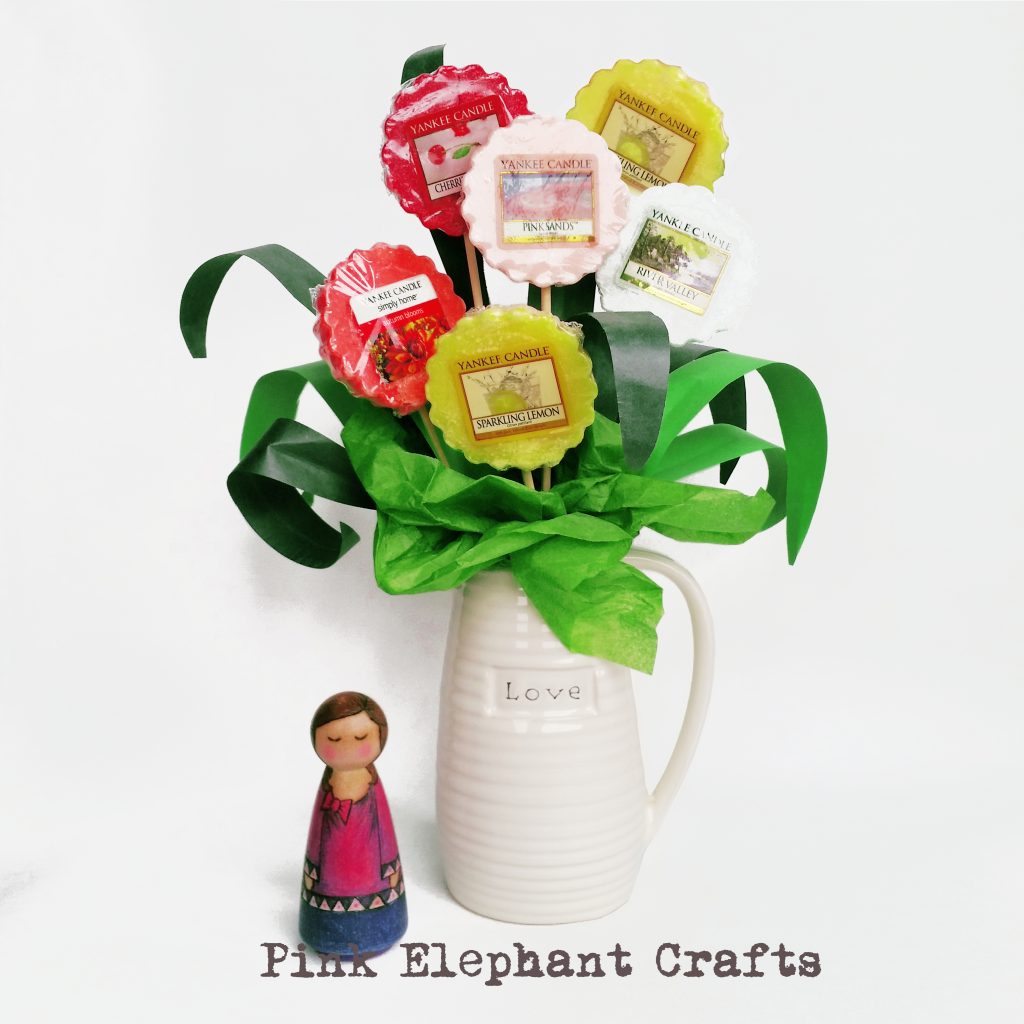
And here’s my take on it which I will help you make in this tutorial. Who doesn’t like a nice scented wax tart? They will be appreciated even more when presented in this lovely wax melt bouquet!
It took me around 10 minutes.

First up, you’ll need some scented wax melts . There are loads of different brands around now and they are easily available. I can get Yankee Candle tarts at my local Supermarket for less than a £1 each. They have their own brand for half that price too. You’ll also need some tissue paper and some green craft or copier paper to create the leaves, and some kebab skewers. Have a scissors handy, and I also used a snips to cut the skewers. In fact, a good scissors will probably cut through them if you don;t have one though.
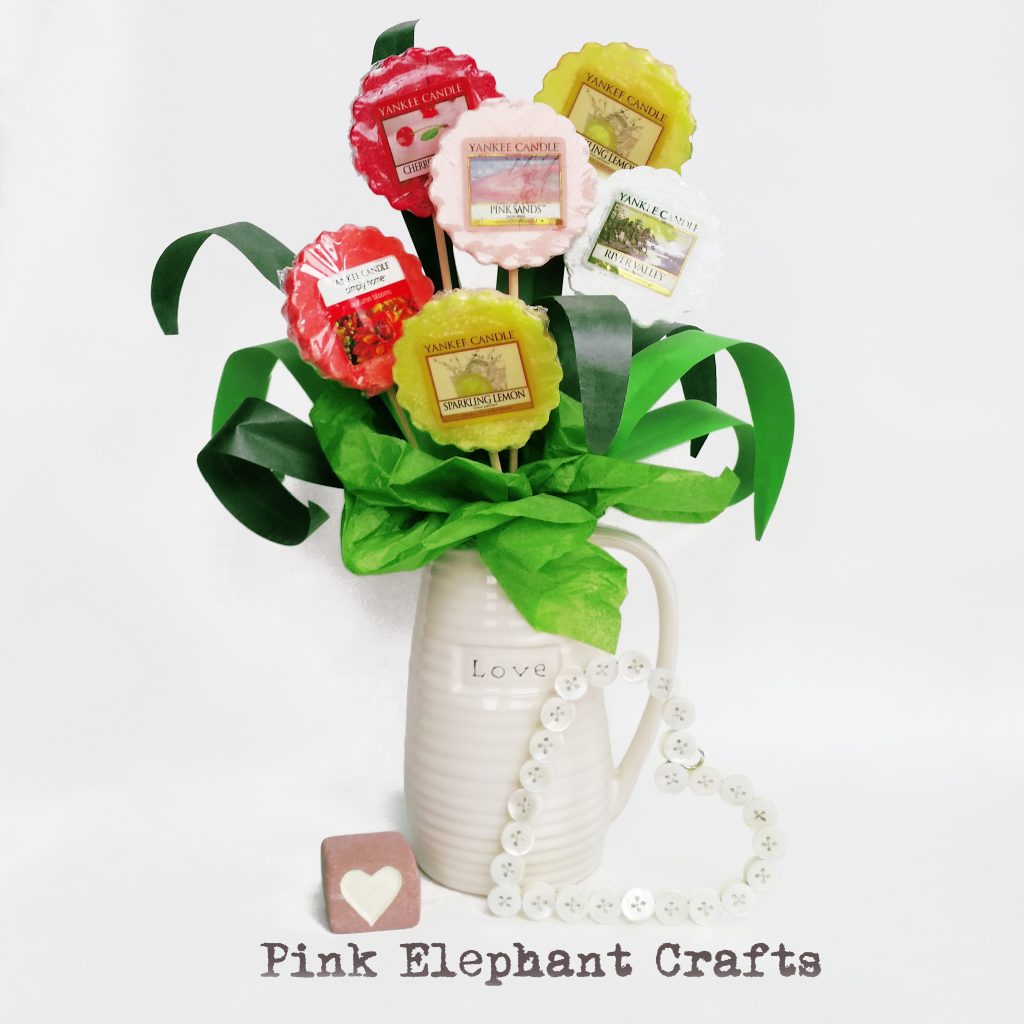
Finally, choose a nice vessel to arrange your wax melt bouquet in. I chose this little jug, but you really could use anything. Perhaps a mug or a biscuit tin if your Mum is a fan of tea and biscuits, or a vase for her to display a real bouquet in. A flower pot, like in the original pin looks nice and is easy to find. Alternatively, if you haven’t got time to shop around, you could use a pretty glass jar with some ribbon or lace tied around it. How about using an old (but empty and clean) Yankee candle jar?
TIP: My little jug had a narrow opening, so it held the wax melt flowers where I arranged them with no problem. If you are using something with a wide opening, you might want to use a bit of florist foam or polystyrene inside to push the flowers into so that your wax melt bouquet arrangement stays as you intend it to.
OK! You’ve got all your bits. We’re ready to go!

Start by stuffing your “vase” with tissue paper. If you needed foam, pop it in the bottom first before doing this. However, if your vase is see-through, put the foam INSIDE the tissue so it’s not seen, then put it in the jar.
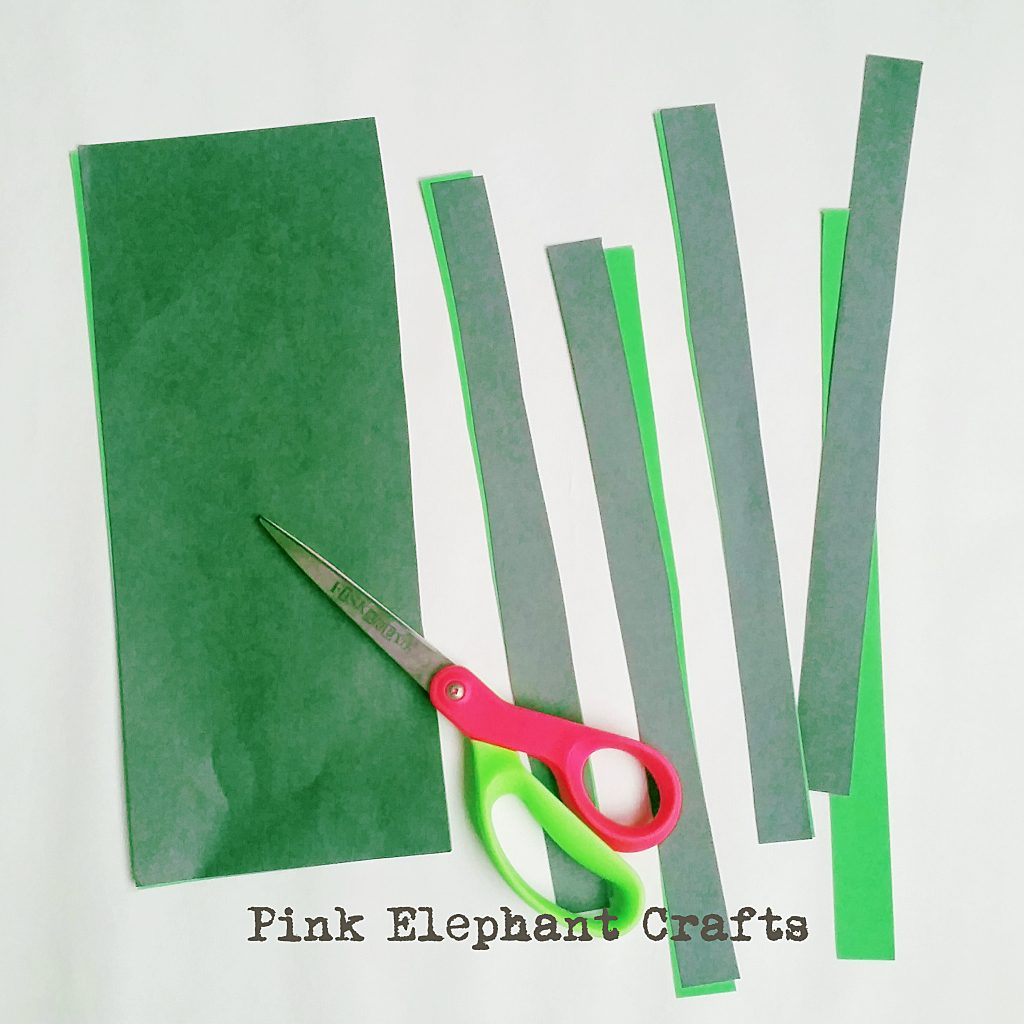
Now make your leaves. You can skip this step, but it does add a little something to the arrangement. I used 2 different coloured green papers, because I happened to have two here. Nevertheless it’s not essential. I just popped the two sheets right on top of each other to save time, and sliced them length ways into long, leafy strips.
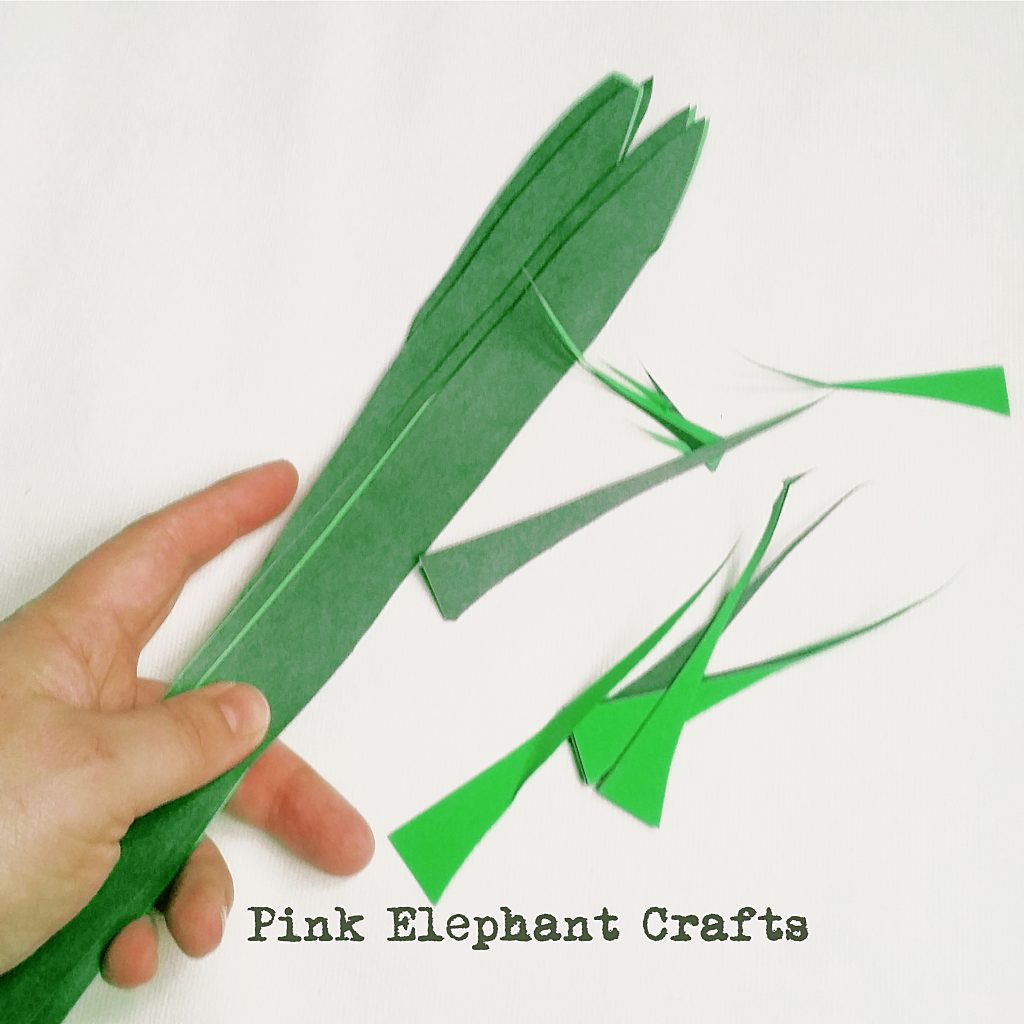
I gathered them all in a pile and rounded all the edges all at once. Just go for it! Nature isn’t perfect, so why should we be?!
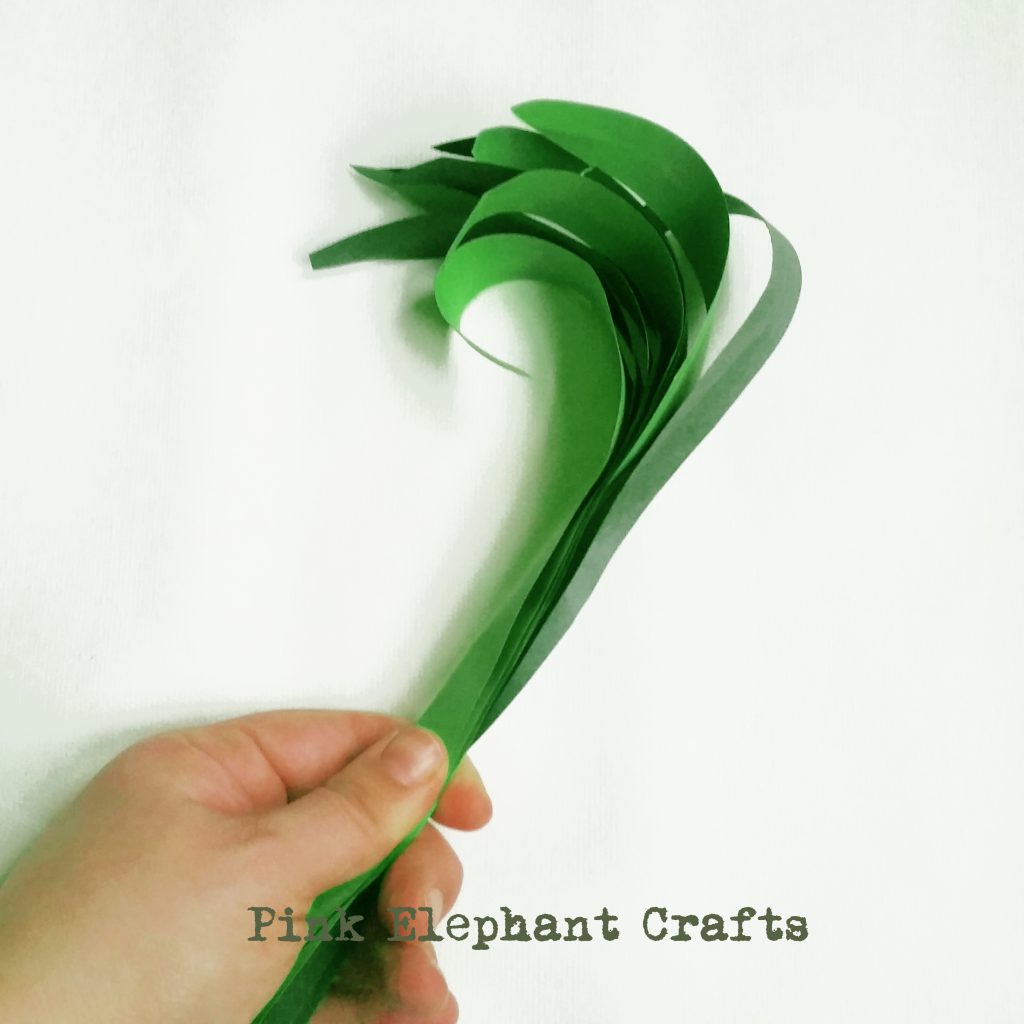
Next I folded them in half and made a firm crease along the folded edge to create a leafy “spine”. Again I did this with them all at once in a pile. I then curled the tips along a scissor blade, like you do with curling ribbon. This gave them a more natural look.
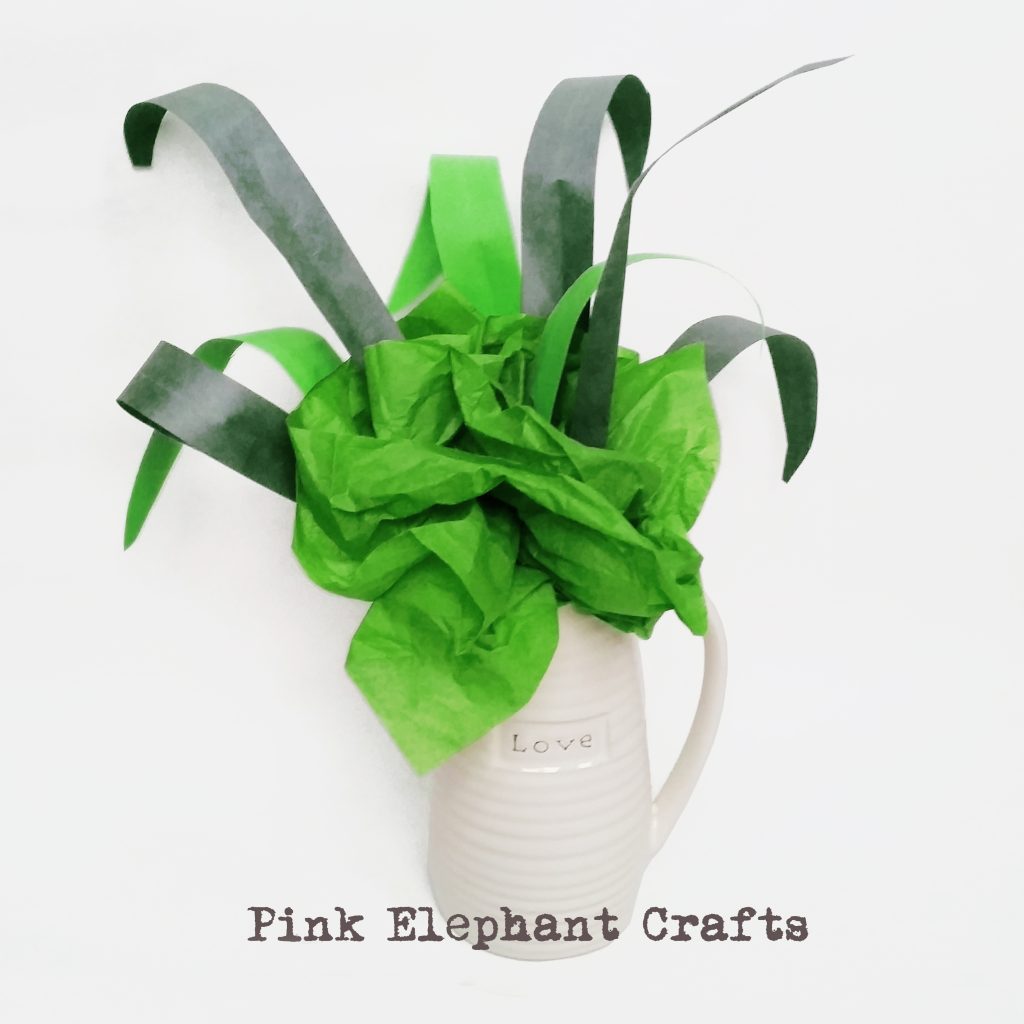
Don’t laugh but this is the bit that took me the longest! Artistically stuffing my “leaves” into the tissue paper was the fiddliest part of the whole craft process. I popped most around the edge of the jug, between its’ side and the tissue paper, as this was the easiest way. However, I also wanted some in the middle of the bouquet to give it a more authentic look. So I grabbed one of the skewers to help me poke them down into the jug between the layers of tissue. Drama over!

Push the pointy end of a skewer into each of the scented wax melts. Add them into your bouquet (pushing into the foam if you needed some). You can snip the ends of the skewers to alter the lengths of your “flowers” to suit your arrangement, just like you would with a real bouquet.
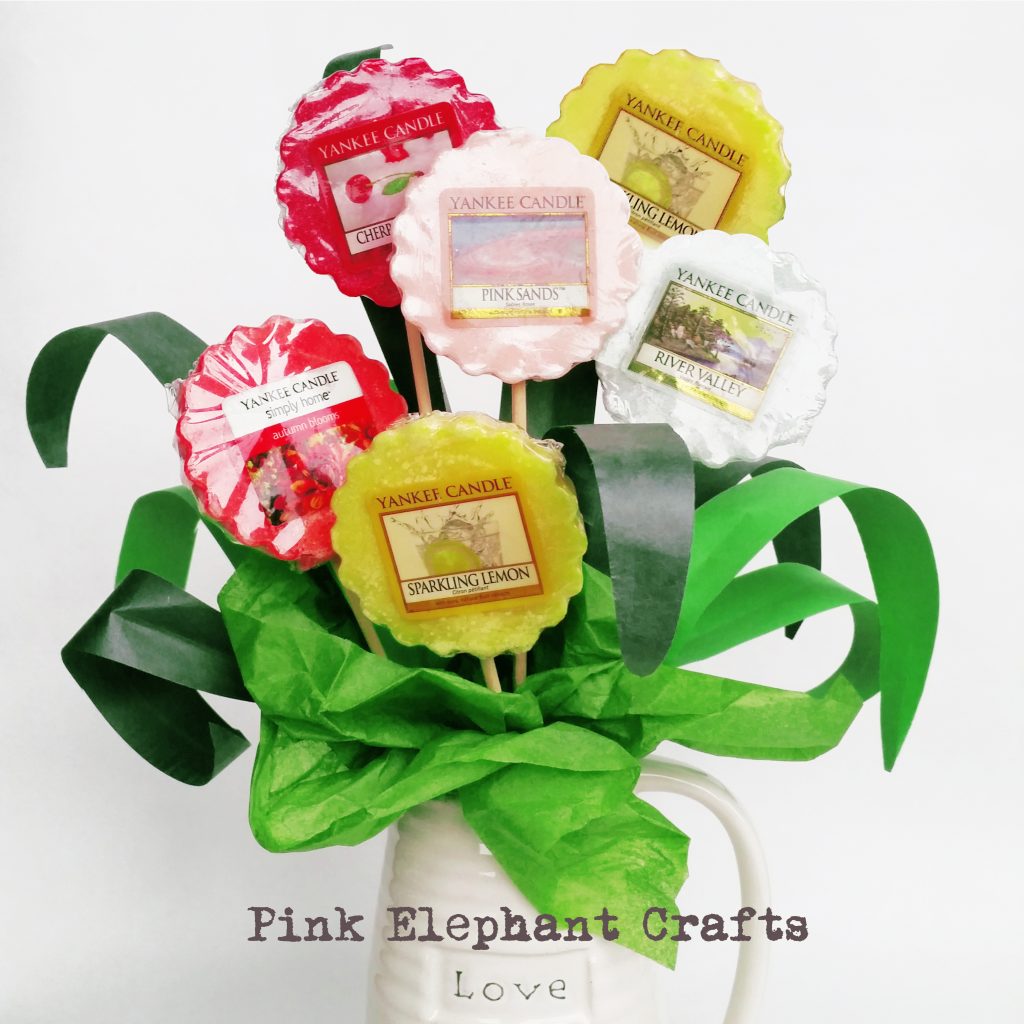
And you’re done! Stop the clock!
You could go a bit further by painting the sticks green, adding ribbon/bows etc. But I think it looks good as it is. Your Mum will never guess that this lovely hand made gift took you just 10 minutes to make. And of course, it has the added advantage that these blooms won’t fade. Their smell will last a lot longer too!
I hope you enjoyed my tutorial for your DIY Wax Melt Bouquet and that it was quick and easy to follow! Feel free to share it or pin it to your Pinterest boards so that others can make one too!
Also, don’t forget my guide to making super snappy DIY Hanging Light Bulb Vases in my last post, or my FREE MOTHERS DAY PRINTABLE here!
It’s not too late to have a happy, handmade Mother’s Day, even with just a few days to go.
Not to mention if you’re still short of ideas, you are welcome to pop on over to my Mother’s Day Pinterest board for more inspiration:
Cwtch ♥ Mawr

You must be logged in to post a comment.